These are instructions on how to use iMovie on the iPhone 4 to edit your video footage and create a custom movie.
Step One
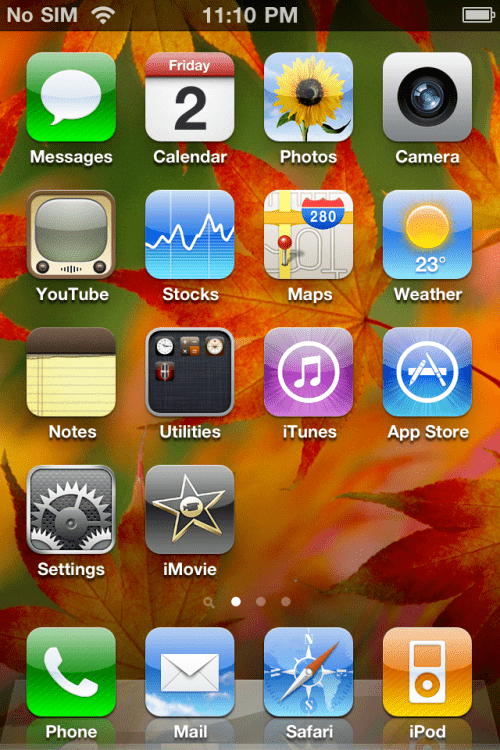
Press to launch iMovie from your springboard. If you do not have iMovie already you can download it from here.

Step Two
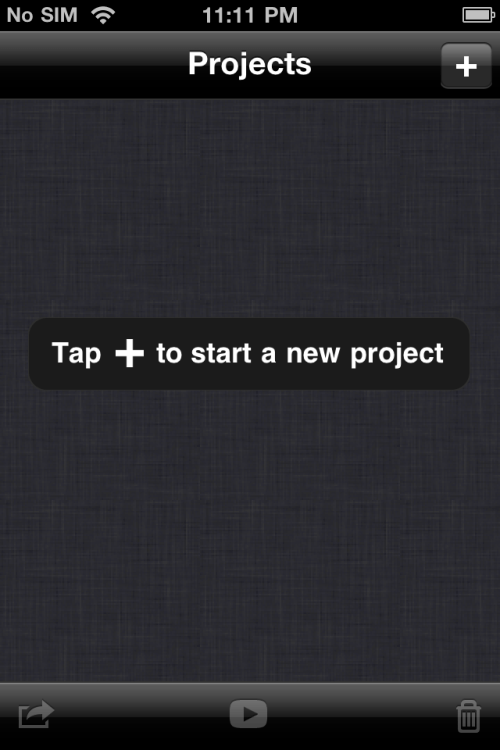
Press the + button at the top right of the screen to start a new project.

Step Three
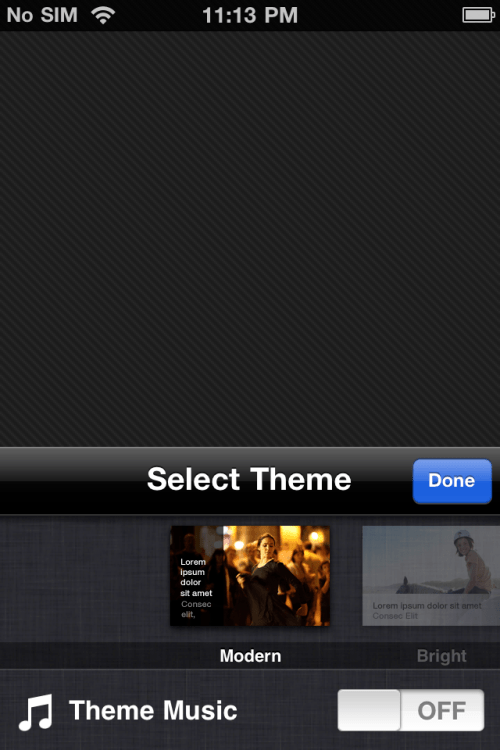
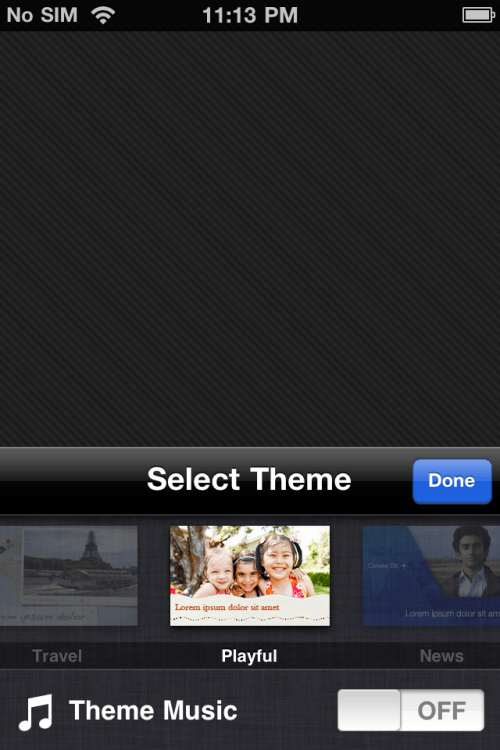
Swipe to select a theme for your video. If you would like to use the theme's music you can flip the Theme Music switch to the ON position. Press the Done button when happy with your selection.


Step Four
Tap to import media from either your media library or directly from the camera.
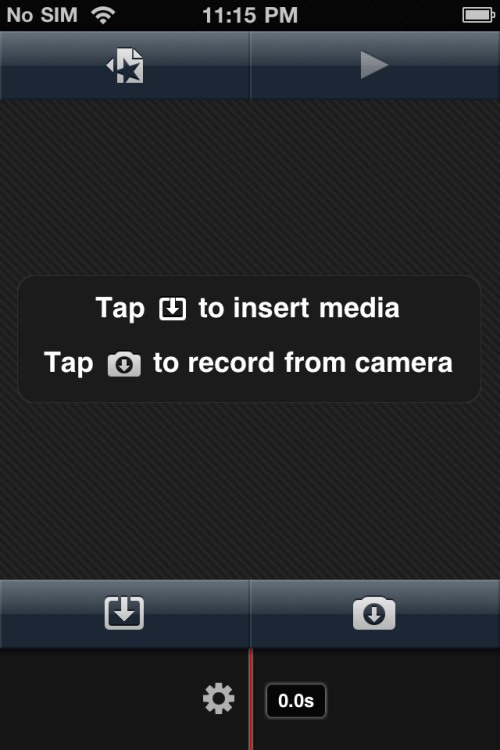

If you tapped to import from the media library a window will appear that allows to select from video, photo, and audio tabs.
Select a video clip and it will be inserted into your timeline.
You can then swipe the video along the bottom of the screen to move back and forward in time.
Double tap the clip to set the Title Style and Location. You can also enable or disable audio and delete the clip from here.
For now press Done then swipe to the beginning or end of the clip. Tap the clip once and you will bring up an orange handle. You can drag this handle to trim the clip to your desired length.
Step Five
Press the Import button and load another video into the timeline.
Notice that you now get a small button in between the first and second clip. Double tap this button to edit the transition between the two. You can set both the time and type for the transition.
Now lets try to tap the video then drag the orange handle to shorten the clip. Once its the desired length drag it along the timeline and make it the starting clip.
Double tap the clip and press Title Style. Here you can choose between Opening, Middle, and Ending title styles. Choose Opening and press the Done button.
Your theme will now be overlayed on the video clip selected. Press the Title entryfield, type a name for your movie, then press the Done button to save your changes.
Step Six
Press the Import button again. This time press to choose the Photos tab and tap to select an image from your photo library.
Notice the image is added to the timeline. Tap the image once to select it. You can then pinch the image to zoom and drag the orange handles to change the duration of the clip. Press the Done button once you've made your changes.
Step Eight
Now lets try to add some audio. Press the Import button again. This time choose the Audio tab and select a song. We've gone into Theme Music and selected Playful.
Notice that a green strip will appear under your video timeline denoting the audio.
Step Nine
You can add more video and images, rearrange them and modify the transitions until you're happy. To preview your video press the Play button.
Step Ten
Once you are done making changes press the Back button to return to the Projects list, select your project and press the Export button at the bottom left of the screen.
Press to select your desired output format from the popup menu. Once the export is complete it will be placed in your Camera Roll. You can then upload to from there or using any application of your choice.
Step One
Press to launch iMovie from your springboard. If you do not have iMovie already you can download it from here.


Step Two
Press the + button at the top right of the screen to start a new project.


Step Three
Swipe to select a theme for your video. If you would like to use the theme's music you can flip the Theme Music switch to the ON position. Press the Done button when happy with your selection.


Step Four
Tap to import media from either your media library or directly from the camera.


If you tapped to import from the media library a window will appear that allows to select from video, photo, and audio tabs.
Select a video clip and it will be inserted into your timeline.
You can then swipe the video along the bottom of the screen to move back and forward in time.
Double tap the clip to set the Title Style and Location. You can also enable or disable audio and delete the clip from here.
For now press Done then swipe to the beginning or end of the clip. Tap the clip once and you will bring up an orange handle. You can drag this handle to trim the clip to your desired length.
Step Five
Press the Import button and load another video into the timeline.
Notice that you now get a small button in between the first and second clip. Double tap this button to edit the transition between the two. You can set both the time and type for the transition.
Now lets try to tap the video then drag the orange handle to shorten the clip. Once its the desired length drag it along the timeline and make it the starting clip.
Double tap the clip and press Title Style. Here you can choose between Opening, Middle, and Ending title styles. Choose Opening and press the Done button.
Your theme will now be overlayed on the video clip selected. Press the Title entryfield, type a name for your movie, then press the Done button to save your changes.
Step Six
Press the Import button again. This time press to choose the Photos tab and tap to select an image from your photo library.
Notice the image is added to the timeline. Tap the image once to select it. You can then pinch the image to zoom and drag the orange handles to change the duration of the clip. Press the Done button once you've made your changes.
Step Eight
Now lets try to add some audio. Press the Import button again. This time choose the Audio tab and select a song. We've gone into Theme Music and selected Playful.
Notice that a green strip will appear under your video timeline denoting the audio.
Step Nine
You can add more video and images, rearrange them and modify the transitions until you're happy. To preview your video press the Play button.
Step Ten
Once you are done making changes press the Back button to return to the Projects list, select your project and press the Export button at the bottom left of the screen.
Press to select your desired output format from the popup menu. Once the export is complete it will be placed in your Camera Roll. You can then upload to from there or using any application of your choice.

