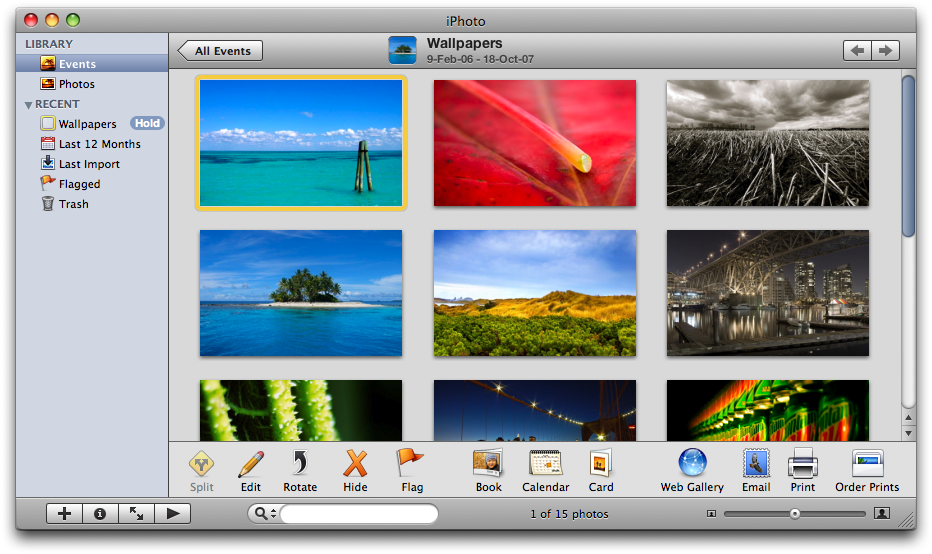
While iPhoto isn't a complicated image editor, it is possible to use it for a few basic tasks. To resize photos using iPhoto 08 follow these simple steps:
Step One
Open iPhoto by clicking its icon in the dock.


Step Two
Double click an Event to view the pictures inside it.


Step Three
Select the picture you would like to resize by clicking it once.


Step Four
Select Export... from iPhoto's File Menu.
Step Five
Select JPEG from the Kind dropdown menu.
Step Six
Select Custom from the Size dropdown menu.
Step Seven
A new Max Dropdown Menu will appear in the window.
From this menu select either Width, Height, or Dimension from the dropdown. In the entryfield below enter the max pixels to resize your image to. So if you select Width from the Max Dropdown Menu and input a value of 640 into the entryfield, your image will be resized to a max width of 640 pixels.
Step Eight
Click the Export button to resize the image.
Step Nine
A popup window will appear asking you to name the exported file and select the location to save it to. Type a name into the entryfield then select a location to save the file. Click the Ok button to complete the file export.
Step One
Open iPhoto by clicking its icon in the dock.


Step Two
Double click an Event to view the pictures inside it.


Step Three
Select the picture you would like to resize by clicking it once.


Step Four
Select Export... from iPhoto's File Menu.
Step Five
Select JPEG from the Kind dropdown menu.
Step Six
Select Custom from the Size dropdown menu.
Step Seven
A new Max Dropdown Menu will appear in the window.
From this menu select either Width, Height, or Dimension from the dropdown. In the entryfield below enter the max pixels to resize your image to. So if you select Width from the Max Dropdown Menu and input a value of 640 into the entryfield, your image will be resized to a max width of 640 pixels.
Step Eight
Click the Export button to resize the image.
Step Nine
A popup window will appear asking you to name the exported file and select the location to save it to. Type a name into the entryfield then select a location to save the file. Click the Ok button to complete the file export.

