These are instructions on how to change the location of your iPhone, iPad, and iPod touch backups. You may want to do this if your iOS device backups are taking up too much space on your primary hard drive.
If you're familiar with Terminal you can find a more advanced version of this tutorial here.
Step One
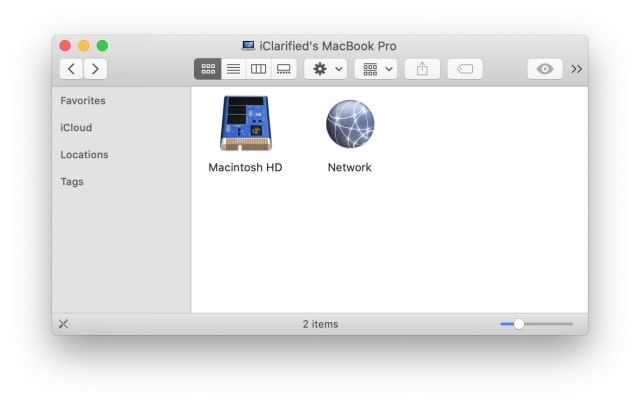
Open Finder from your Dock.


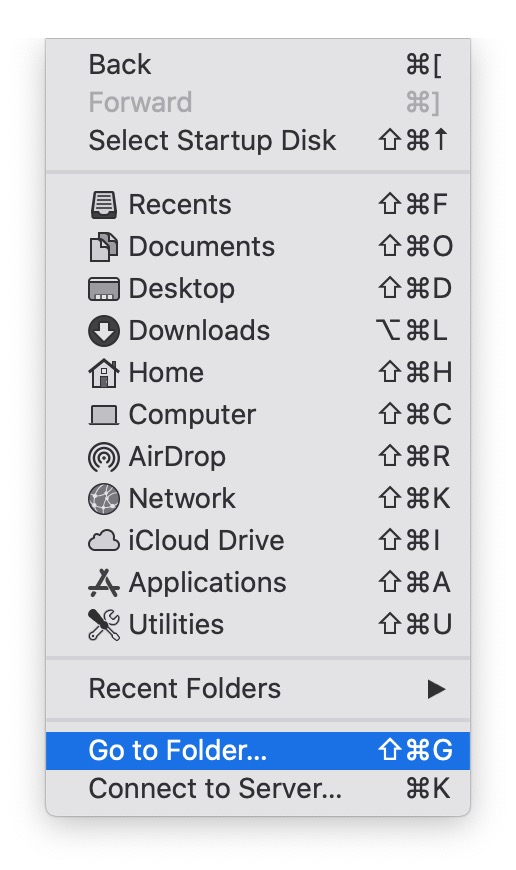
Select Go to Folder from the Go menu.


Type ~/Library/Application Support/MobileSync into the entryfield and click Go.
Step Two
Here you'll find the Backup folder that macOS uses for your iOS devices. Click the folder's name twice and rename it to Backup (Old). Alternatively, you could copy or move the folder to a new location; however, you'll need to be careful with this folder as it contains all your previous backups.
Step Three
Open a new Finder window (Command + N). Navigate to the location you'd like your backups saved and create a new folder named Backup. You can do this by selecting New Folder from the File menu.
In our example, we created a new folder named Backup on an external drive.
Step Four
Launch Terminal from the Applications > Utilities folder.
Step Five
Type the following command into the Terminal window, replacing /Volumes/Untitled/Backup with the location of your new Backup folder.
sudo ln -s /Volumes/Untitled/Backup ~/Library/Application\\ Support/MobileSync/Backup
If you don't know the full path of your new Backup folder you can just drag the folder into the Terminal window and its path will appear.
Hit Enter to execute the command then input your admin password when prompted.
Step Six
A symbolic link will be created from the old Backup folder location to the new location.
Step Seven
You can now perform a local backup by clicking Back Up Now on your iPhone's Summary Page to confirm that the link is working as intended.
If you're familiar with Terminal you can find a more advanced version of this tutorial here.
Step One
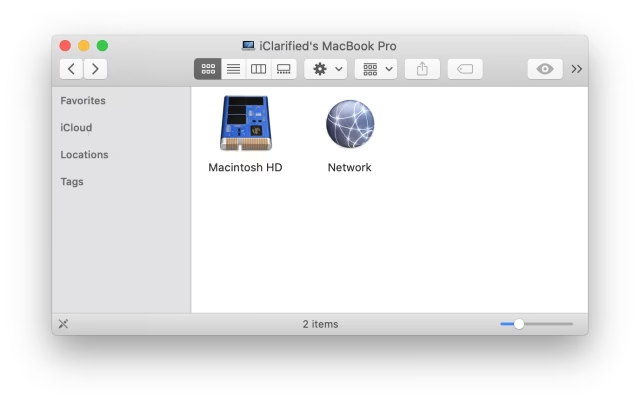
Open Finder from your Dock.


Select Go to Folder from the Go menu.


Type ~/Library/Application Support/MobileSync into the entryfield and click Go.
Step Two
Here you'll find the Backup folder that macOS uses for your iOS devices. Click the folder's name twice and rename it to Backup (Old). Alternatively, you could copy or move the folder to a new location; however, you'll need to be careful with this folder as it contains all your previous backups.
Step Three
Open a new Finder window (Command + N). Navigate to the location you'd like your backups saved and create a new folder named Backup. You can do this by selecting New Folder from the File menu.
In our example, we created a new folder named Backup on an external drive.
Step Four
Launch Terminal from the Applications > Utilities folder.
Step Five
Type the following command into the Terminal window, replacing /Volumes/Untitled/Backup with the location of your new Backup folder.
sudo ln -s /Volumes/Untitled/Backup ~/Library/Application\\ Support/MobileSync/Backup
If you don't know the full path of your new Backup folder you can just drag the folder into the Terminal window and its path will appear.
Hit Enter to execute the command then input your admin password when prompted.
Step Six
A symbolic link will be created from the old Backup folder location to the new location.
Step Seven
You can now perform a local backup by clicking Back Up Now on your iPhone's Summary Page to confirm that the link is working as intended.

