![How To Create a Bootable macOS 27 Golden Gate USB Installer [Video]](/images/tutorials/102354/484122/484122-64.png "How To Create a Bootable macOS 27 Golden Gate USB Installer [Video]")
How To Create a Bootable macOS 27 Golden Gate USB Installer [Video]
A bootable USB installer lets you install macOS 27 Golden Gate from a flash drive, whether you want a clean install or need to set up more than one Mac. With macOS 27 the whole job happens in Terminal. Golden Gate is not offered in the Mac App Store, so you download the full installer with the softwareupdate command, then turn the drive into an installer with createinstallmedia.
macOS 27 Golden Gate runs only on Apple silicon Macs. You need a USB flash drive with at least 32 GB of storage, and everything on it will be erased.
We downloaded macOS 27 on a MacBook Pro, made the installer on a 32 GB drive and started the same Mac from it to check each step below.
Make a macOS 27 Boot Drive in Terminal
Step One: Open Terminal
Launch Finder from your Dock and select Applications, then open Terminal from the Utilities folder.
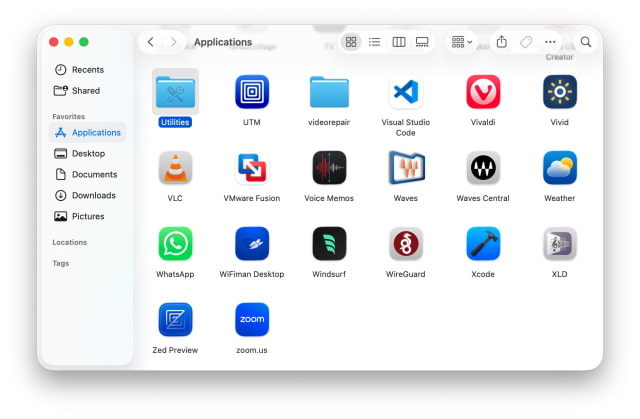
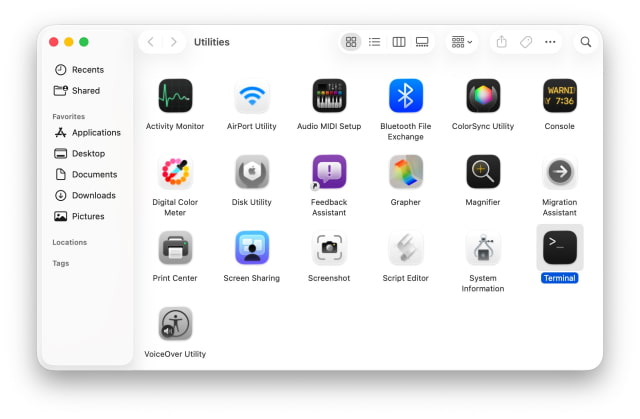
Step Two: Find the Latest macOS 27 Installer
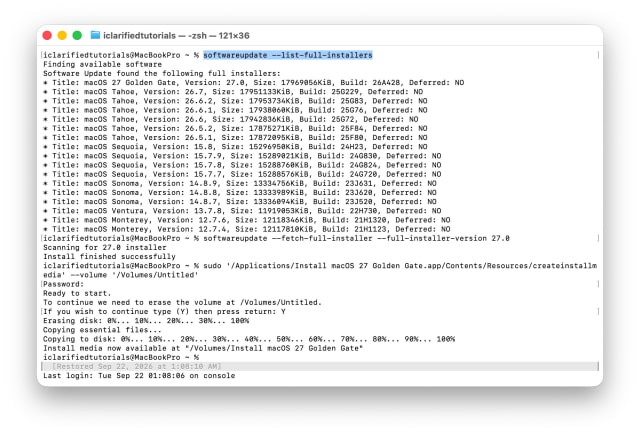
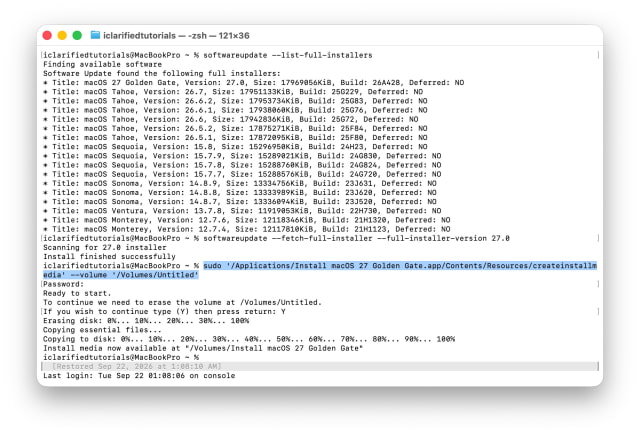
Type this command and press Return to see every macOS installer Apple offers:
softwareupdate --list-full-installers
Find the latest version of macOS 27 in the list and note its version number. On our Mac it was the first entry, macOS 27 Golden Gate, Version: 27.0. If your Mac is enrolled in beta updates, the list also shows macOS 27 Golden Gate Beta entries. Pick a release, not a beta.
Step Three: Download the Full Installer
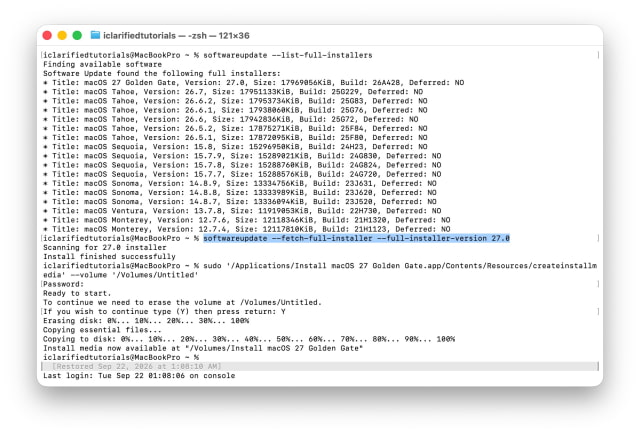
Type this command, with that version number at the end, and press Return:
softwareupdate --fetch-full-installer --full-installer-version 27.0
The installer is about 18 GB, so the download can take a while. When Terminal says Install finished successfully, Install macOS 27 Golden Gate is in your Applications folder.
Step Four: Create the Bootable Installer
Plug in your USB drive. Then type this command, replacing Untitled with the name of your drive, and press Return. Ours appeared as UNTITLED, and the name is not case-sensitive.
sudo '/Applications/Install macOS 27 Golden Gate.app/Contents/Resources/createinstallmedia' --volume '/Volumes/Untitled'
Enter your administrator password when asked. Terminal does not show it as you type. Type Y and press Return to erase the drive. If you see a message that Terminal would like to access files on a removable volume, click OK.
Terminal erases the drive, renames it Install macOS 27 Golden Gate and copies the installer onto it, which takes a while too. When you see Install media now available, your bootable installer is ready.
Step Five: Start Up From the Installer
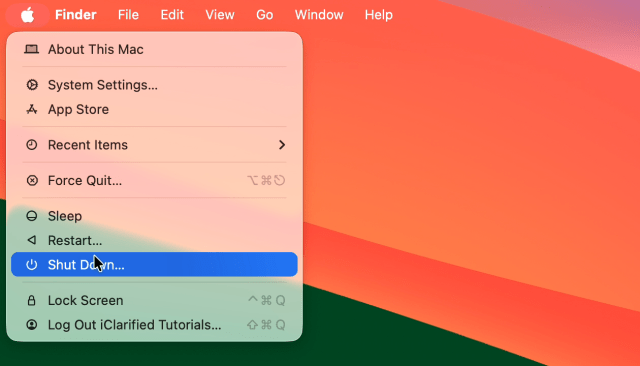
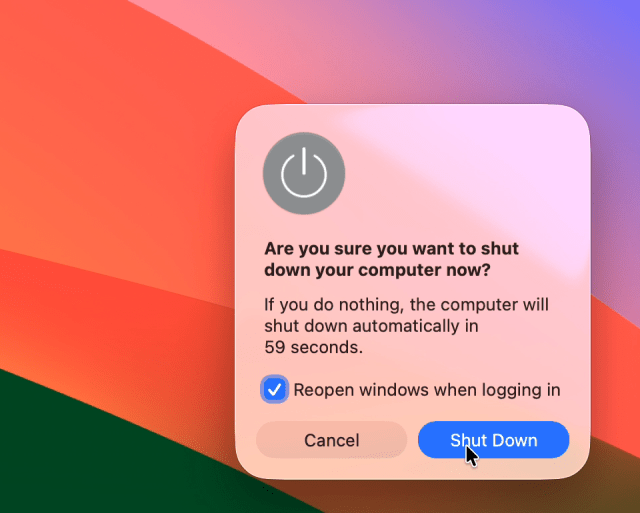
Leave the drive plugged in. Click the Apple menu and choose Shut Down…, then click Shut Down again to confirm.
When your Mac is off, press and hold the power button until you see Loading startup options…. Select Install macOS 27 Golden Gate, then click Continue.
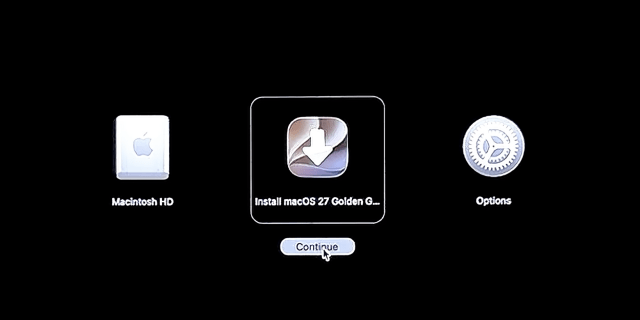
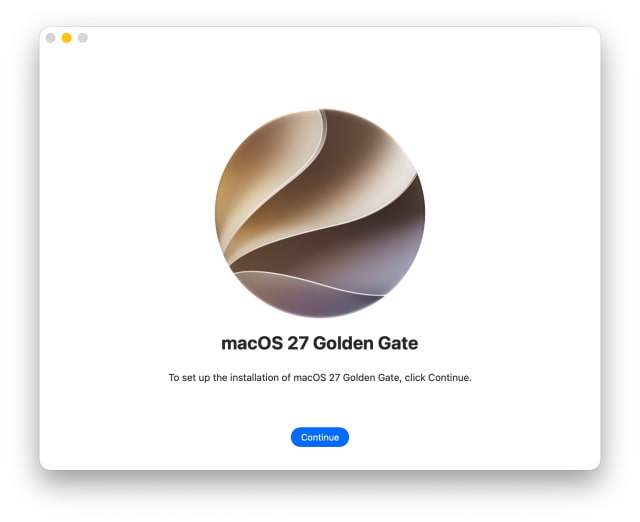
Your Mac starts up from the drive, and macOS Recovery asks you to select a user you know the password for. The installer then opens. Click Continue to set up the installation.



![Beats 360 Headphones Debut With Swappable Cushions, IPX4 Rating for $349.99 [Video]](/images/news/102342/102342/102342-160.jpg "Beats 360 Headphones Debut With Swappable Cushions, IPX4 Rating for $349.99 [Video]")





![13-Inch M5 MacBook Air With 1TB Drops to $1,449 on Amazon [Deal]](/images/news/102345/102345/102345-160.jpg "13-Inch M5 MacBook Air With 1TB Drops to $1,449 on Amazon [Deal]")