iPhone 18 Pro's Variable Aperture Explained: What It Changes for Your Photos
The iPhone 18 Pro's variable aperture lets you choose how much light reaches the Main camera sensor—and how much of a scene stays in focus. It is a physical change inside the lens, with practical uses for close-ups, low-light photos, and video.
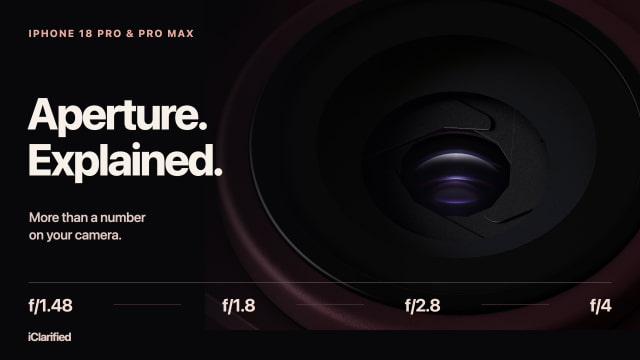
Both iPhone 18 Pro and iPhone 18 Pro Max offer four manual settings on the 48MP Fusion Main camera: f/1.48, f/1.8, f/2.8, and f/4. They can make a useful difference, particularly for close subjects and video. The useful setting depends on the light, the subject's movement, and how much of the scene you want in focus.
What Actually Changes Inside the Camera?
An aperture is an opening in the lens. A lower f-number means a wider opening that admits more light; a higher number means a smaller opening. At the same focus distance, stopping down also increases depth of field, so more of the scene in front of and behind your subject can appear acceptably sharp.
On iPhone 18 Pro, the opening physically changes before the photo is captured. This is different from adjusting the simulated background blur of a Portrait photo afterward. Portrait effects can remain useful, but the aperture gives you an optical choice at the moment of capture.
The variable aperture belongs to the Main camera on both Pro models. The Ultra Wide, dedicated Telephoto, and front camera do not gain an adjustable aperture. The Main camera also supplies the 2× crop, so that view uses the same physical lens and aperture mechanism.
Four Settings, Four Useful Starting Points
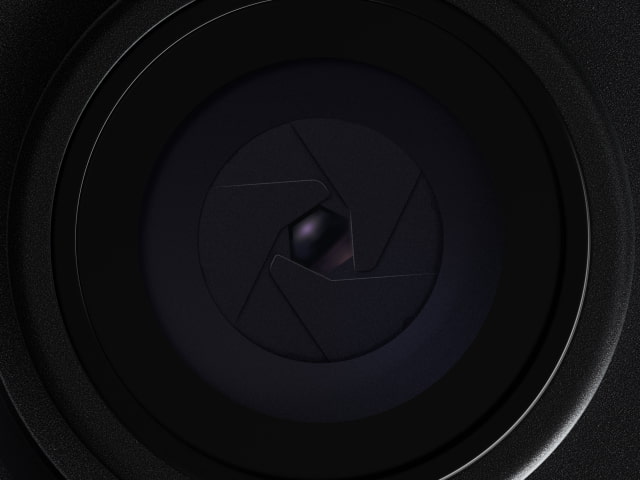
f/1.48 is the widest opening. Start here when light is scarce or when you want the shallowest optical depth of field the Main camera can give you. Letting in more light can help you keep the shutter speed up for a moving subject instead of extending the exposure.
f/1.8 is a modest step down. It gives up some light while offering a middle ground between shooting wide open and choosing a smaller aperture.
f/2.8 is worth trying for daylight detail, groups, and nearby subjects that need more depth of field. It also performed well in the independent tests discussed below. A useful habit is to compare it with the wider settings on a scene you photograph often, rather than leaving the camera there permanently.
f/4 gives you the deepest optical focus range of the four settings and admits the least light. It can help with nearby objects at different distances or reduce exposure for video, but it comes with the biggest light penalty.
The move from f/1.48 to f/4 reduces the light admitted by roughly three stops—about a sevenfold change, based on the aperture ratio. If nothing else changes, the camera needs a longer exposure or greater sensitivity to compensate. For a person moving indoors, the wider opening may produce the better photograph even when the smaller one would keep more of the scene in focus.
What Camera Reviewers Found
In PetaPixel's iPhone 18 Pro camera review, the Main camera was softest toward the edges at f/1.48, improved at f/1.8, and reached its best sharpness at f/2.8. The review found a small loss of sharpness at f/4 attributed to diffraction, the spreading of light through a small opening.
Fstoppers tested all four apertures and also favored f/2.8 for sharpness, but did not see a visible diffraction penalty at f/4 in its comparisons. Lee Morris found the differences relatively small in ordinary photographs, with depth-of-field changes most apparent at close distances.
Taken together, those tests make f/2.8 a sensible setting to experiment with when there is enough light. They also leave room for f/4 when extra depth matters more than squeezing out the last bit of fine detail. The test results describe the reviewers' images; we have not independently repeated their comparisons.
PetaPixel also found that stopping down could turn bright points of light into starbursts, although lens ghosts remained. That gives night scenes another creative option, while still leaving a reason to adjust your framing around troublesome lights.

Close Subjects Show the Difference More Clearly
A distant landscape already has considerable depth of field on a phone. A plate of food, a small object on a desk, or a face photographed close up gives the aperture more opportunity to change the result.
Try placing the focus on the important part of the subject, then compare a wide setting with f/2.8 or f/4. Look at the areas just ahead of and behind that focus point. You may prefer more of the object sharp, or you may want the background to fall away. Neither choice is automatically better.
Watch the camera selection when moving very close. As Fstoppers notes, automatic macro switching can hand the shot to the Ultra Wide camera, which does not have the Main camera's variable aperture. Backing away a little can keep the shot on the Main lens when that is the look you want.

Why Video Shooters Should Care
For video, aperture becomes another way to manage exposure while keeping a chosen shutter speed. A common starting point for natural-looking motion at 24 fps is around 1/48 second. In bright conditions, stopping down helps avoid having to use a much faster shutter simply to reduce exposure.
It only takes you so far. Both camera publications still found a role for neutral-density filters in bright daylight. An ND filter reduces incoming light without requiring you to choose a smaller aperture, so you can keep the depth of field and motion rendering you want.
Apple's new Pro controls expose aperture, shutter speed, and white balance in the Camera app, along with a histogram. Both reviews note that Apple's controls do not include a direct ISO slider. For a more manual video workflow, Blackmagic Camera 3.5 adds aperture control for both iPhone 18 Pro models, alongside its existing ISO and shutter-angle controls.

Where to Start With Your Own Photos
Leave the camera in automatic mode when getting the shot matters more than choosing every setting. When you have a little time, try f/2.8 in good light, open up toward f/1.48 for movement or dim conditions, and use f/4 when you want more of a close scene in focus.
Compare the whole photograph before zooming into individual pixels. The subject's expression, motion, focus placement, and light will usually matter more than a small difference in corner sharpness. Once those choices feel familiar, adjusting aperture can become as routine as choosing a lens or setting the focus.
For the rest of the hardware changes, see our iPhone 18 Pro vs. iPhone 17 Pro comparison.

![All 2027 iPhones Expected to Use Apple Modems [Gurman]](/images/news/102447/102447/102447-160.jpg "All 2027 iPhones Expected to Use Apple Modems [Gurman]")
![Apple Tests New Vision Headset Designs Amid Uncertain Launch Plans [Gurman]](/images/news/102444/102444/102444-160.jpg "Apple Tests New Vision Headset Designs Amid Uncertain Launch Plans [Gurman]")




![How To Find Your iPhone IMEI Number [Video]](/images/tutorials/83557/83557/83557-160.jpg "How To Find Your iPhone IMEI Number [Video]")


![16-Inch M5 Max MacBook Pro Drops $900 to New Low of $3,499 [Deal]](/images/news/102438/102438/102438-160.jpg "16-Inch M5 Max MacBook Pro Drops $900 to New Low of $3,499 [Deal]")
![Magic Keyboard for iPad Air Drops to $200 on Amazon [Deal]](/images/news/102402/102402/102402-160.jpg "Magic Keyboard for iPad Air Drops to $200 on Amazon [Deal]")
![13-Inch M5 MacBook Air With 1TB Drops to $1,449 on Amazon [Deal]](/images/news/102345/102345/102345-160.jpg "13-Inch M5 MacBook Air With 1TB Drops to $1,449 on Amazon [Deal]")